Roman clay roof tiles are a historic and beautiful building material that is loved by homeowners and architects for its durability, thermal insulation and classic appearance. However, correct installation is key to ensuring its functionality and beauty.
This article will explore in detail how to install Roman clay tiles, as well as the tools and precautions required to help you better understand the process.

What are Roman clay roof tiles? What do you need to know before installation?
1. What are the characteristics of Roman clay tiles?
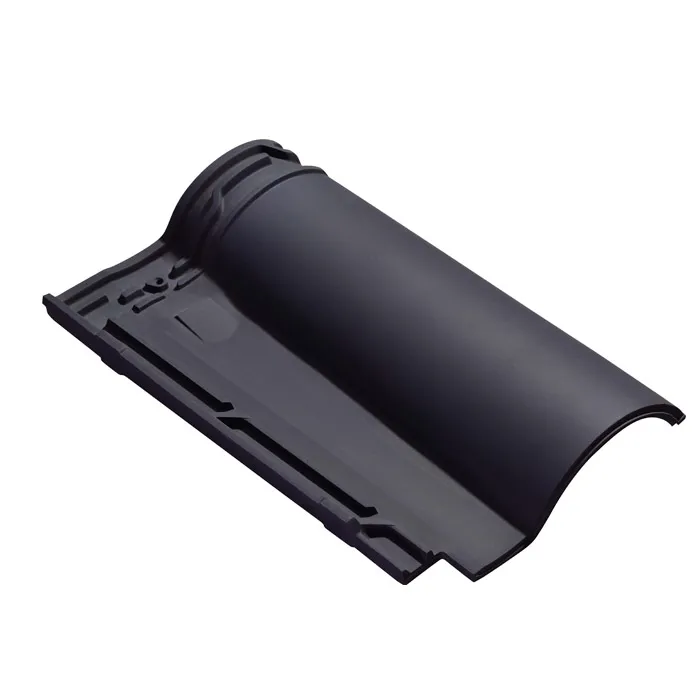
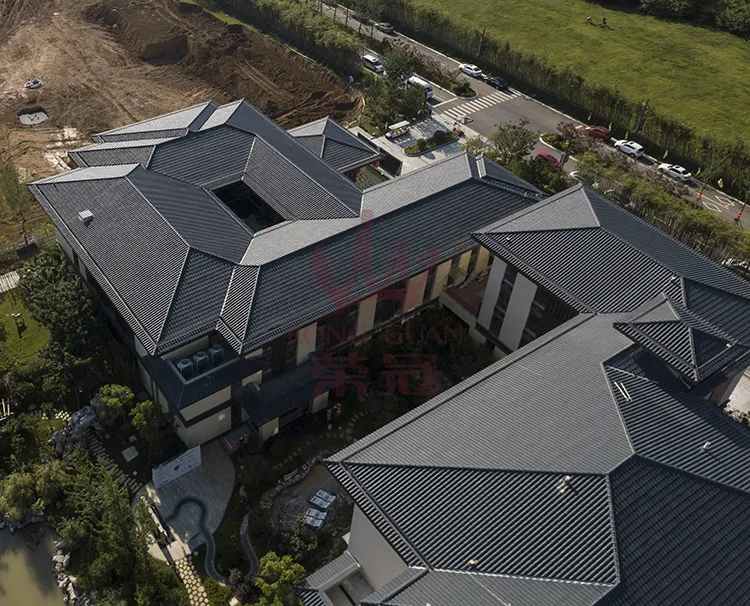
Roman clay tiles are made of natural clay fired at high temperatures and have excellent durability, wind resistance and UV resistance. Its unique curved shape enables it to form a firm fitting structure when installed, while also having good drainage functions. This type of tile is widely used in residential, commercial buildings and even monument restoration.
Before installation, it is important to understand the basic specifications, weight and applicable roof slope of Roman clay tiles. Generally speaking, Roman clay tiles are suitable for roofs with a slope between 4/12 and 6/12. Too flat or too steep will affect the fixing effect and drainage ability of the tiles.
2. Why do you need to prepare tools and materials before installation?
The installation of Roman clay tiles requires professional tools and specific materials to ensure the quality of construction and the firmness of the tiles. For example, tile fixing nails, metal hooks, waterproof membranes, etc. are all indispensable. Without proper tools and materials, problems such as tiles falling off or roof leaks may occur.
What tools are needed to install Roman clay tiles?
1. What are the basic construction tools?
● Tile cutting tools: used to adjust the size of tiles, usually electric cutters.
● Nail gun or hammer: required to fix tiles, used to hammer in nails.
● Level: ensure that tiles are neatly arranged.
● Waterproof membrane laying tools: such as reels and cutters, used to unroll and cut waterproof layers.
● Ladders or scaffolding: provide stable construction support.
● Safety equipment: including non-slip shoes, safety ropes and helmets to ensure the safety of construction workers.
2. In addition to tools, what auxiliary materials are needed?
● Waterproof membrane or roof padding: as the first protective layer under the tiles.
● Metal hooks or tile clips: used to fix tiles and enhance wind resistance.
● Tile nails: highly corrosion-resistant nails to ensure a secure fixation.
● Ridge tile glue or waterproof glue: used to seal roof seams and edges to prevent moisture from seeping in.

How to start installing Roman clay tiles?
1. What are the preparation steps before installation?
● Check the roof frame: Make sure the roof structure is stable and can support the weight of clay tiles. Clay tiles usually weigh between 8-12 pounds per square foot, which requires a high load-bearing capacity of the roof.
● Clean the roof surface: Remove dust, debris and old materials to ensure that the new tiles can be installed securely.
● Lay the waterproof membrane: Start from the eaves and lay upwards, with at least 6 inches of overlap to form a continuous waterproof barrier.
2. How to install the first row of tiles correctly?
The installation of the first row of Roman clay tiles is crucial because it determines the neatness of the arrangement of subsequent tiles. The specific steps are as follows:
● Starting at one end of the eaves, place the first tile on the waterproof membrane.
● Use a nail gun or hammer to secure the tiles to the wooden baseboard, fixing each tile at at least two points.
● Make sure the bottom edge of the tile is flush with the eaves, and use a level to check for straightness.

What is the order of Roman clay tiles? How to ensure neatness?
1. How are Roman tiles arranged?
Roman clay tiles are usually installed in a staggered manner to increase structural strength and aesthetics. Each row of tiles overlaps the previous row by a certain amount (usually one-third of the length of the tile), forming a continuous drainage path.
2. How to avoid the problem of Roman clay tiles being misaligned?
To ensure that the tiles are aligned neatly, you should:
● Use a string tool to mark reference lines to ensure that the position of each row of tiles is consistent.
● Use a level to check after each row is installed and adjust the tile position if necessary.
● Check the edges at both ends regularly to ensure that the entire roof is straight.
How to deal with the ridge and edges?
1. What is special about the installation of ridge tiles?
The ridge tile is installed at the highest point of the roof to connect the tiles on both sides, which plays a waterproof and decorative role. The installation steps are as follows:
● Lay a layer of waterproof tape or cement mortar in the center of the ridge to enhance the sealing.
● Place the ridge tiles on the tape one by one, leaving appropriate gaps between each piece.
● Use special nails or metal clips for tiles to fix the ridge tiles to ensure their stability.
2. How to deal with the edges to prevent water leakage?
The edge of the roof is the most vulnerable part to wind and rain, so it needs special treatment:
● Lay waterproof tape under the edge tiles to prevent moisture from seeping in.
● Use roof edge banding or metal fixings to strengthen the firmness of the edge tiles.
● Waterproof glue can be applied to the ends of the tiles to further enhance the sealing effect.
How to walk safely on a Roman clay tile roof?
1. Why do you need to be extra careful when walking?
Although Roman clay tiles are durable, they are brittle and easily cracked due to uneven force. Therefore, you need to distribute your weight when walking on the roof to avoid applying too much pressure to a single tile.
2. What measures should be taken when walking?
● Wear non-slip shoes to ensure that you do not slip when walking on the tile surface.
● Try to step on the raised part of the tile or the support under the tile, which are more solid.
● Use temporary scaffolding or lay wooden boards to distribute the weight and reduce direct pressure on the tiles.

How to inspect and maintain Roman clay tiles after installation?
1. What are the key points of the inspection?
● Make sure that all tiles are firmly fixed and there is no looseness.
● Check whether the ridge, edges and joints are well sealed to prevent water leakage.
● Test the drainage function of the tiles with water to ensure that there is no water accumulation or leakage.
2. What should be paid attention to in daily maintenance?
● Regularly clean leaves, dust and other debris on the tiles to avoid clogging the drainage channel.
● Check whether the tiles are damaged or loose, and repair or replace them in time if problems are found.

